Why Grill Cleaning Is Non-Negotiable
A grill caked in old grease and carbon isn't just unappetizing — it's a functional problem. Grease buildup in the firebox and drip tray is the leading cause of grill fires. Carbon deposits on grates transfer off-flavors to food (that bitter, acrid taste isn't seasoning — it's burnt grease). Clogged burner ports cause uneven heating. And corrosion from trapped moisture and grease reduces the lifespan of even expensive grills by years.
Most grill cleaning advice focuses only on the grates, but the grates are just one component. The burners, heat deflectors, drip trays, firebox interior, and exterior all need regular attention. This guide covers the complete process for gas, charcoal, and pellet grills — from the quick post-cook maintenance to the seasonal deep clean.
What You'll Need
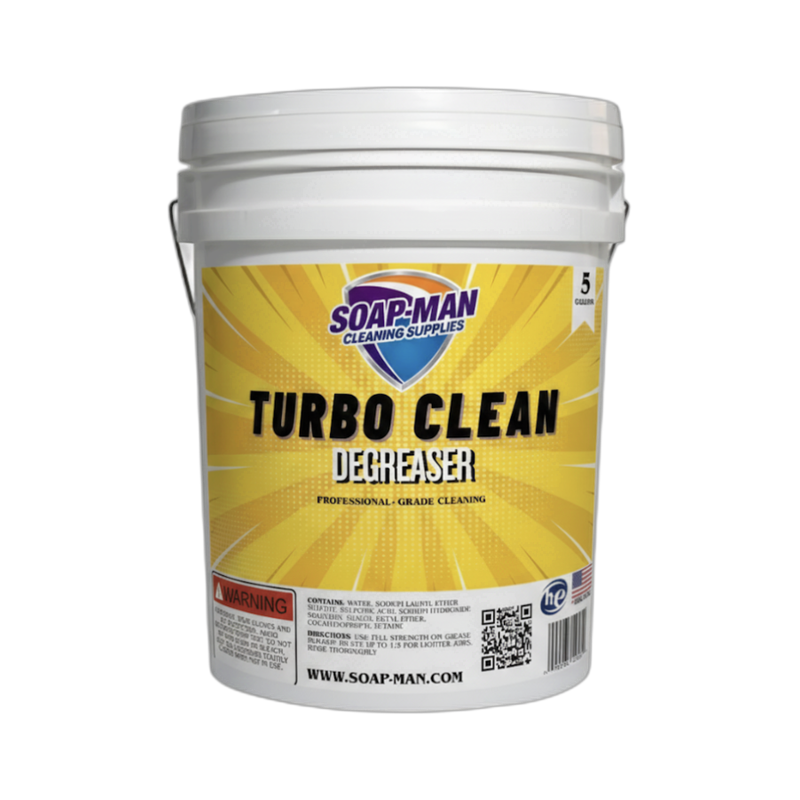
- Degreaser — Turbo Clean Degreaser for dissolving baked-on grease and carbon throughout the grill.
- A good grill brush — brass bristles for porcelain-coated grates, stainless steel bristles for cast iron and uncoated steel grates.
- Putty knife or grill scraper — for removing carbon buildup from the firebox interior.
- Bucket of warm soapy water
- Sponge and microfiber cloths
- Paper towels and cooking oil — for seasoning grates after cleaning.
- Rubber gloves
- Garden hose
- Aluminum foil — for the burn-off technique.
Step-by-Step: How to Deep Clean a Grill
Step 1: Burn Off Residue (Gas and Pellet Grills)
Turn all burners to high, close the lid, and let the grill run for 15 minutes. This carbonizes any food residue and grease on the grates and interior surfaces, turning it to ash that's easy to brush off. For charcoal grills, load a fresh chimney of charcoal and let it burn with the lid open until the coals are ashed over. This burn-off step is the most important prep — it transforms sticky, greasy residue into brittle carbon that practically falls off. After 15 minutes, turn off the gas (or let coals burn down) and let the grill cool until it's warm but not hot enough to burn.
Step 2: Clean the Grates
While the grates are still warm, scrub with a grill brush. Brass bristles for porcelain-coated grates (steel bristles scratch the coating), stainless steel bristles for cast iron and bare steel. Brush in the direction of the grate bars, not across them. For heavily encrusted grates, remove them and soak in a basin of hot water with Turbo Clean Degreaser for 30 minutes. Scrub with the brush, rinse, and dry. For cast iron grates: after cleaning, apply a thin coat of cooking oil with a paper towel to prevent rust. This seasoning step is critical for cast iron — skipping it means rust by next week.
Step 3: Clean the Burners (Gas Grills)
Remove the burner covers (heat plates, flavorizer bars, or heat tents — they go by different names). Scrape any carbon buildup with a putty knife, then wash with warm soapy water and dry. Inspect the burner tubes for clogs — spider webs and insect nests in burner tubes are a common cause of uneven flames and gas backup (which is a fire hazard). Use a burner-cleaning brush or straightened wire to clear each port. Reassemble once all parts are clean and dry.
Step 4: Clean the Firebox Interior
The inside of the grill body (the firebox) accumulates layers of grease and carbon that look like paint peeling from the lid — this is normal and not actual paint. Scrape the interior walls and lid with a putty knife or grill scraper, collecting the debris. Spray the interior with degreaser, let it sit for 10 minutes, and wipe with old cloths or paper towels. Scrape the bottom of the firebox toward the grease drain and push all debris out. This step is what prevents grease fires — an inch of accumulated grease in the bottom of a grill is a fire waiting to happen.
Step 5: Clean the Drip Tray and Grease Management System
Pull out the drip tray or grease cup. Dump the contents, wash with hot soapy water and degreaser, and dry. Some grills have a grease channel that directs drippings to the tray — scrape and wipe this channel clean. Replace aluminum drip tray liners if your grill uses them. A full drip tray is one of the most common causes of grill fires and flare-ups. Check it before every cooking session and empty it regularly, not just during deep cleans.
Pro Tips
- The onion trick for grate cleaning. Cut an onion in half, stick a fork in the flat side, and rub the cut face across hot grates. The onion's moisture steams off residue, and its natural acids break down grease. It's a chemical-free way to clean grates right before cooking.
- Oil grates before AND after cooking. Before cooking: oil a paper towel with high-heat oil (canola, avocado) and rub the grates — this prevents sticking. After cooking and brushing: oil again to protect against rust and make the next cleaning easier.
- Cover your grill. A grill cover is the single best investment for grill longevity. Rain, humidity, and morning dew cause rust, corrode burners, and create conditions for mold growth inside the firebox. A $30 cover can double the life of a $500 grill.
Common Mistakes
- Using wire grill brushes on porcelain-coated grates. Wire bristles scratch through the porcelain coating, exposing the metal underneath to rust. Use brass bristles on porcelain grates. Also — inspect any wire brush before use. Loose bristles can break off, stick to the grates, and end up in food, which is a serious health hazard.
- Cleaning a cold grill. Grease and carbon are much harder to remove from a cold grill. The burn-off step (or cleaning while the grill is still warm from cooking) makes everything easier. Never try to deep clean a completely cold grill — you'll work three times as hard for half the result.
- Using oven cleaner on grill grates. Oven cleaner is too harsh for grill grates — it strips seasoning from cast iron, damages porcelain coatings, and leaves chemical residue that's difficult to rinse completely (and you cook food directly on these surfaces). Use a proper degreaser designed for grills and food-contact surfaces.
FAQ
How often should I deep clean my grill?
Quick clean (brush grates, empty drip tray) after every use. Full deep clean (all components) every 2-3 months during grilling season, or after every 15-20 uses. At the end of grilling season, do one final thorough clean before covering and storing the grill for winter. A well-maintained grill needs less effort per deep clean because buildup never gets severe.
Can I put grill grates in the dishwasher?
No. Dishwasher detergent is too alkaline for grill grates — it strips seasoning from cast iron, causes rust on steel, and can damage porcelain coatings. Hand wash with warm soapy water and a brush, or soak in a degreaser solution. The dishwasher is never the right tool for grill components.
What's the black stuff flaking from inside my grill lid?
Those are carbonized grease deposits, not paint. When grease vaporizes during cooking, it condenses on the cooler lid surface and bakes into a carbon layer over many cooking sessions. It eventually flakes off in sheets. It's not harmful, but it's not appetizing either. Scrape the lid interior with a putty knife during your regular deep cleans to prevent buildup.
Should I clean a new grill before first use?
Yes. New grills have manufacturing residues (oils, metal shavings, dust) on the grates and interior surfaces. Wash all removable parts with warm soapy water and dry. Then do a burn-off: run the grill on high for 20 minutes with the lid closed to burn off any remaining residue. Let it cool, brush the grates, oil them, and you're ready to cook.
How do I remove rust from grill grates?
For light surface rust: scrub with a stiff wire brush, wash with warm soapy water, dry completely, and re-season with cooking oil. For heavy rust: soak grates in a 1:1 vinegar-water solution for 1 hour, scrub with a wire brush, rinse, dry, and oil generously. For cast iron grates with severe rust: scrub, wash, dry, then re-season in a 350-degree oven for 1 hour with a coat of oil. Prevention is easier than treatment — oil grates after every use and keep the grill covered.